


Still not sure?
For feedback on a specific design, you can email your files anytime to emily@licketysplitpress.com — or, for general production questions, submit our contact form below!
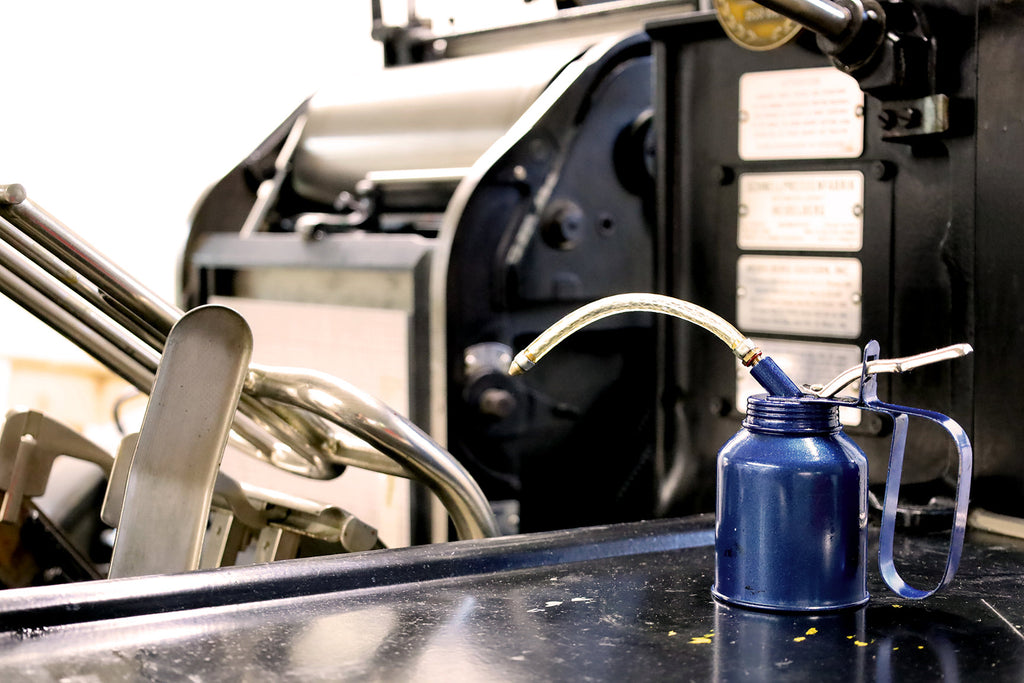
If you found your way to this page, we appreciate you being so detail-oriented! Enjoy our handy-dandy tips and tricks, from the basics to the insider secrets for each print technique.
Setting up files for production.
Our preferred file formats for production-ready artwork are vector, such as .ai or .pdf. If you can only send artwork as a .tif or other raster file, that’s okay too — just make sure its resolution is at least 300dpi (the higher the better).
If you have a mockup, client approval form listing project specs, or other supporting materials that will help us understand your project, please feel free to include them with your artwork files!
The very best files we get follow this checklist!
If your artwork will bleed off the paper edge, please make sure to include 1/8” of bleed around the edges of your design, as well as crop marks for all four corners (in Illustrator, just go to Effect > Create > Crop Marks).
If your artwork will not bleed off the paper edge, you don’t have to worry about including bleed or crop marks in your file.
Please don't worry. Do the best you can to follow the Prep Checklist, but we will always double-check that your files are ready for platemaking before we send your project to production! If there are minor file issues, we'll fix them for you. If we have concerns about how your design will print, we'll talk through ways to fix it with you. If you have any further questions before submitting, just reach out.
Tips and tricks for the best results.
Please select your ink colors from the Pantone Uncoated Solids book (shades ending in U). Any ink in this book is included in our letterpress pricing.
If you specify from the Coated book (ending in C), we'll use the closest Uncoated match (which is typically a bit more muted due to the substrate).
If you need a specialty Pantone ink from another book, such as a fluorescent or pastel, we can order it custom for you at a small additional cost.
Please be aware the final ink appearance may be affected to a small degree by the substrate color, press run quantity, and artwork style.
No worries. Here are alternatives:
We offer metallic gold, silver and copper letterpress inks. Please keep in mind that metallic letterpress inks are very dull — they only provide a very slight shimmer at certain angles depending on the paper type being used, but they're basically matte.
If you're looking for a shiny or reflective finish, you want foilstamping instead. If you want to see the difference, email us for photo examples.
If you submit artwork with dots or hairlines under the minimum, we'll thicken your artwork slightly to meet the minimum. Otherwise, chances are good that it won’t hold up to the pressure of the press, and it could print weakly or not at all.
For most fonts, a good rule of thumb is to use type at least 6 points in size or larger (but check stroke and dot sizes anyway!).
For most jobs, we print with a fairly deep impression, meaning you'll be able to see and feel the impression into the paper.
We're happy to adjust the impression if you have a particular preference! Just let us know when you order.
Keep in mind that the more surface area your design has, the less impression we'll be able to achieve. So when designing textures or patterns, for maximum impression we recommend making your linework as thin as possible (over our 0.35pt minimum). It'll look thicker once it's surrounded by the shadows of an impression!
Letterpress printing has a unique capability to create an impression with no ink — called "blind letterpress." It’s a subtle but beautiful look that calls attention to the handmade and luxe quality of letterpress.
If you’re interested in blind letterpress, keep in mind that it's best suited for texture or for larger typesetting. We don't recommend using blind letterpress for things that may be hard to read, like body copy.
If you're using it for patterning or texture, we recommend using the thinnest possible lines (0.35pt minimum). The less total surface area, the deeper we can get the impression, and the better the shadows!
Because a blind letterpress requires its own press run, we use the same pricing as any other letterpress run.
Yep, double-sided is totally doable!
We'll almost always print each side separately and duplex them after printing. This is the best way to get impression on both sides without ugly show-through.
In very limited circumstances we might be able to print double-sided without duplexing. Just reach out if you have questions about this.
Perfect ink coverage can be expected with small text and linework.
Letterpress machines were originally designed for printing text — not floods of color. If your design includes fill shapes larger than a nickel, you should expect them to appear "salty" (slightly uneven, in an old-fashioned way) rather than dark and solid.
If you aren’t sure about your design, we’ll be happy to take a look! If we have any concerns, we'll recommend tweaks to either the artwork or print method to make sure you get awesome results.
Letterpress inks are semitransparent. Printing one over another will create a third color — for example, blue printed over yellow will create green in the overlapping area. Overprinting is a cool technique that can create additional color options without raising your cost (three for the price of two!). To get a sense of what it’ll end up looking like, set your artwork layers to “multiply.”
Keep in mind that a colored paper stock will have a similar effect on your ink colors (e.g. if you print blue ink on yellow stock, the ink will look green).
Give your design a lift.
When embossing, the stock is sandwiched between a male and female die — so the perfect artwork depends on the stock you're using.
Keep in mind these are minimum suggestions. With an emboss, we recommend maximizing your artwork's surface area for the greatest visual effect — bolder strokes, larger type, and shape fills are great choices for embossing since they can maximize the amount of height and shadow your emboss will have.
Getting the perfect shape.
Please visit our Die Library to view and download PDF templates of our existing house dies! You're welcome to use all these dies for your projects — you'll save a little moulah versus having custom-made dies. We're regularly adding new dies to the library, so check back often!
Need something special? We can have a custom die made for your project, whether it's a simple shape or complex scrollwork!
Custom dies usually take a few days to produce. Pricing starts at $65 for small simple shapes, but every die is different — please email your dieline draft to emily@licketysplitpress.com and we'll get you a quote right back!
*Note: If your custom die is a shape that we think other clients might find useful, we may recycle your custom die into our Die Library after your project is over so it can keep living its life! If you prefer not to have your die added to our shared library, just let us know and we'll ship it to you instead.
The largest die-cut we can currently produce in-house is approximately 9"x14". If your project has a larger total area, we have partners we can either outsource or refer you to.
If you're having a custom die made, we can include scoring as part of that die. This can be really helpful for things like packaging or gatefold cards, because there won't be any additional labor cost to include the scoring — just our standard die cutting cost.
Please note we can only score on one side while die-cutting, so a Z-fold, for example, would not be possible within a cutting die.
Make sure your project shines.
Our house foils, included in the standard foilstamping price, are:
Need a different color? We can custom-order a shade for you from an extensive catalog. Custom foils typically run approximately $80 per roll.
If you submit artwork with hairlines under the minimum, we'll thicken your artwork slightly to meet the minimum. Otherwise, chances are good that it won’t print properly.
For most fonts, a good rule of thumb is to use type at least 6 points in size or larger (but check stroke sizes anyway!).
For feedback on a specific design, you can email your files anytime to emily@licketysplitpress.com — or, for general production questions, submit our contact form below!